HCP QUOTES & BUDGETS
CONTENTS
- Create a quote
- Convert a quote to budget
- HCP Statements
- HCP Statement reports
- Manage HCP Package levels
CREATE A QUOTE
To create a new HCP quote select a client from the client list and click on “View Details”.
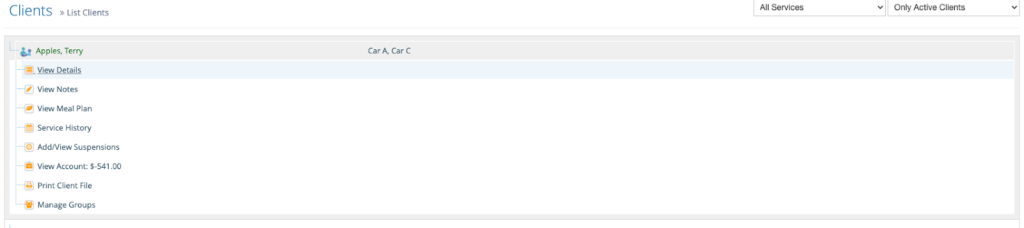
If you scroll down the client’s information, there’s an HCP Quotes section. Just click on “New Quote” on the top right-hand side.

When creating a quote, fill out the “Name” and “Client Contribution”. Then, select a home care package (see how to manage HCP package levels below), the frequency and a start and end date for the quote.

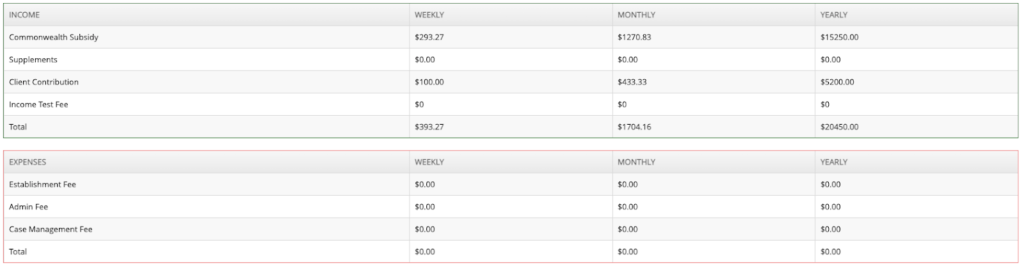
The client’s income, such as commonwealth subsidy and client contribution will then be updated. The expenses, including administration and case management fees, will be shown just below the income.
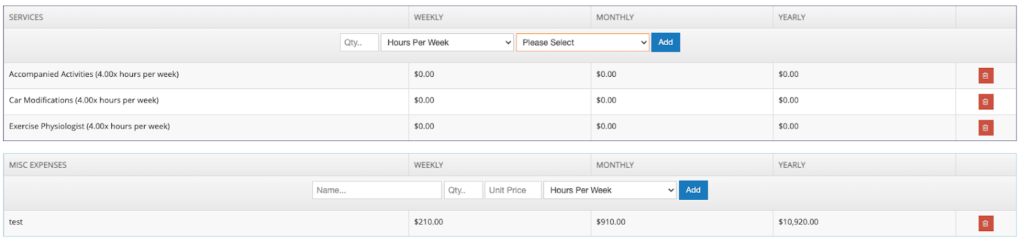
To add services, select one option from the services list and add the quantity of hours per week or month. The services and prices will be listed according to the prices setup (under administration>services). You can add as many services as you want.
There’s also an option to include miscellaneous expenses not included in the services list. Fill out the name, quantity, unit price and frequency (hours per week, hours per month or once-off) and the item will be added to the quote.
If you need to delete one of the items from the list, click on the red bin on the right-hand side.
When you add the services, the client’s deficit/surplus per week, month and year will be automatically calculated.
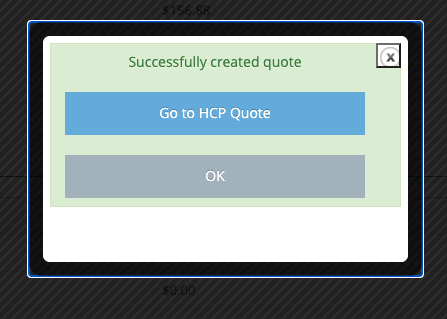
Click on “create quote” on the top right side. A message will pop up when the quote is created and you’ll be able to view it on the client’s information.
CONVERT A QUOTE TO BUDGET
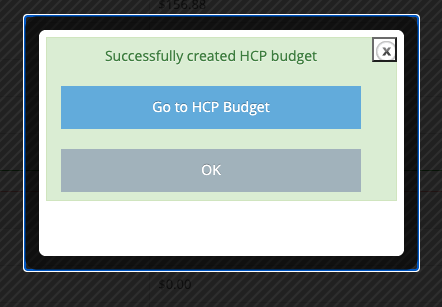
Once the quote is ready, you can update it at any time and save it by clicking on the “Edit Quote” button. You can also convert the quote to an HCP Budget by clicking on the dark blue button.

You can view the Budget by clicking on “Go to HCP Budget”.
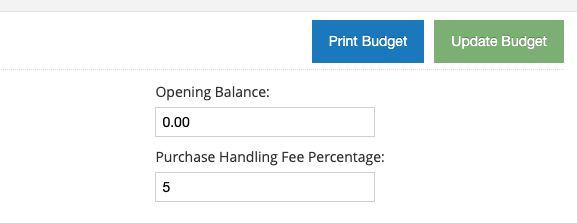
On the budget page, you can include the client’s opening balance and the purchase handling fee percentage.
HCP STATEMENTS
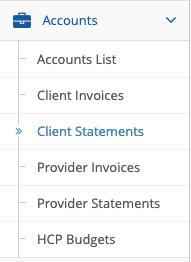
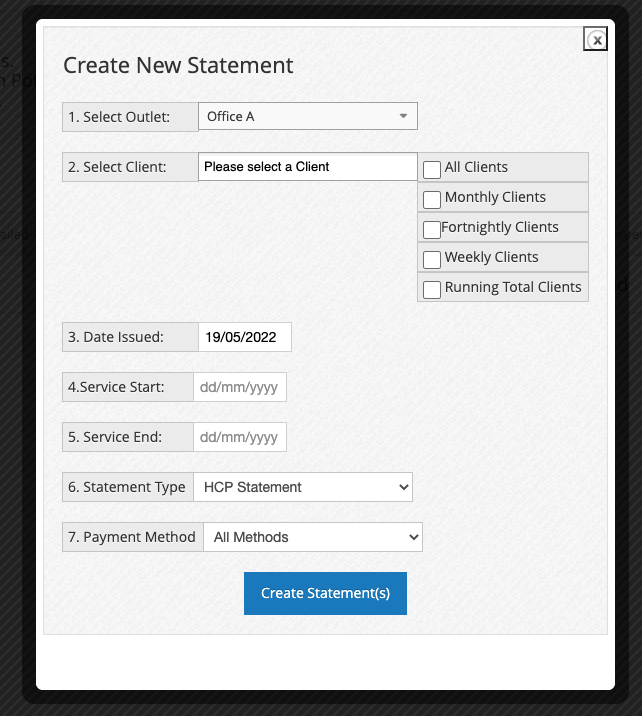
To create an HCP Statement, go to “Accounts” > “Client Statements” and click on “New Statement”.
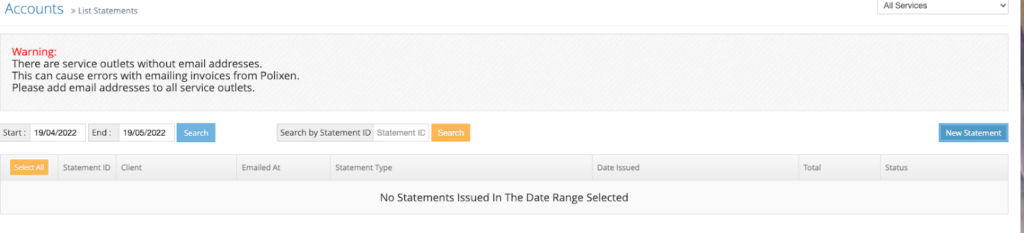
A new window will pop up where you can fill out information such as outlet, clients, service start and end dates and payment method.
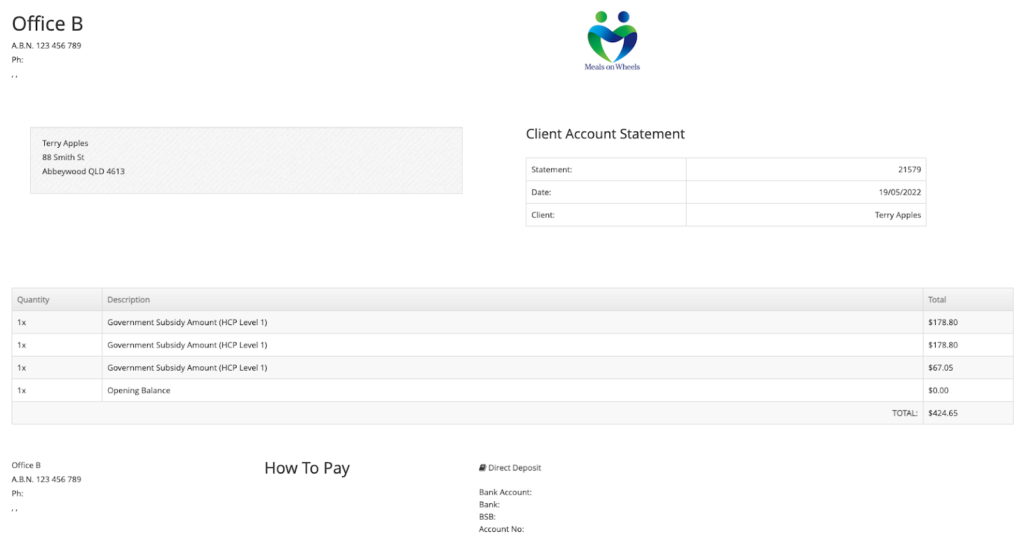
After the statement is created, it will be added to the statements list. The list includes the statement ID, the client’s name, email, statement type, issue date, total and status.

Click on the blue ‘i’ icon on the left side to open the detailed statement.
To change the payment status of a statement, simply click on it and select the option “add the payment status”. If you choose the option “paid” or “partially paid”, you will then be able to select “apply credit” and enter the payment method before submitting the invoice.
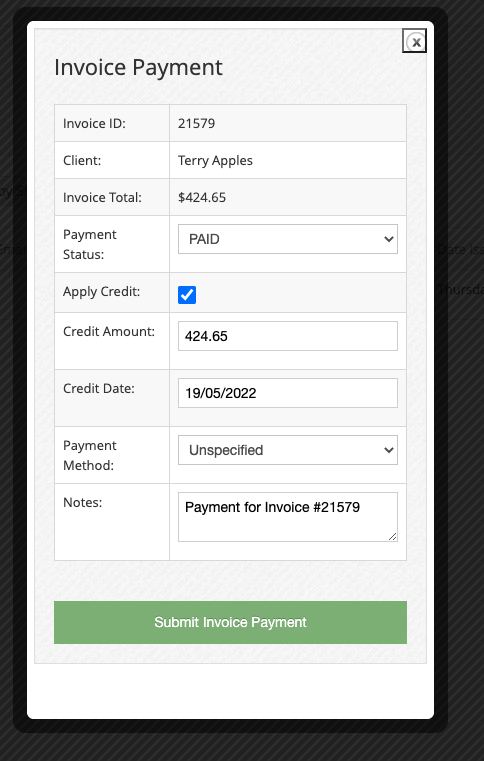
Once the invoice is submitted, you can choose to print the receipt or email it to your client.


HCP STATEMENT REPORTS
To run an HCP Statement report, go to “Reports” > “Accounts” and select HCP Statement report.

Select the services and start and end date for which you want to run the report.
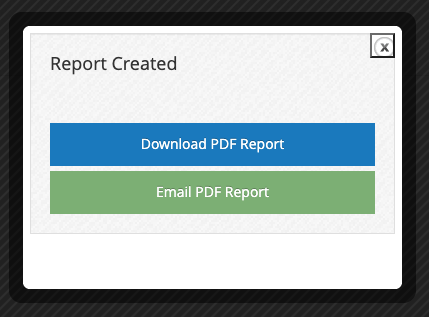
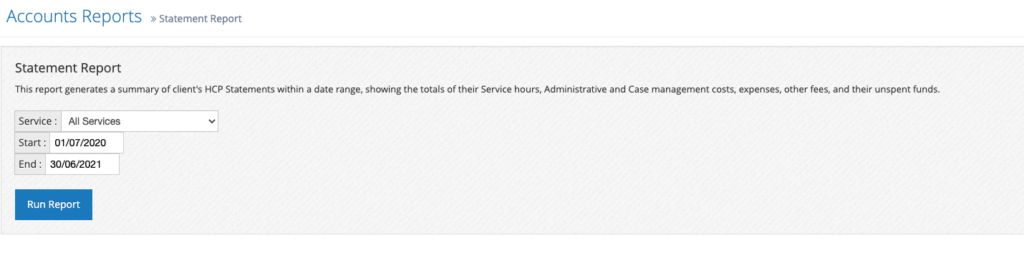 Once the report is ready, there is the option to email or download the PDF.
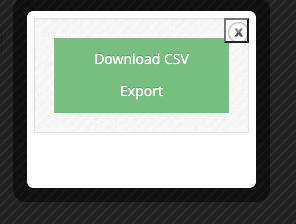
To export HCP Statements, go to “Reports” > “Accounts” and select “HCP Statement exports” (right above HCP Statement reports). Select a start and end date, then click on run report.

The CSV file will be available for download.
MANAGE HCP PACKAGE LEVELS
To manage HCP Package levels, go to “Administration” > “HCP Packages”.

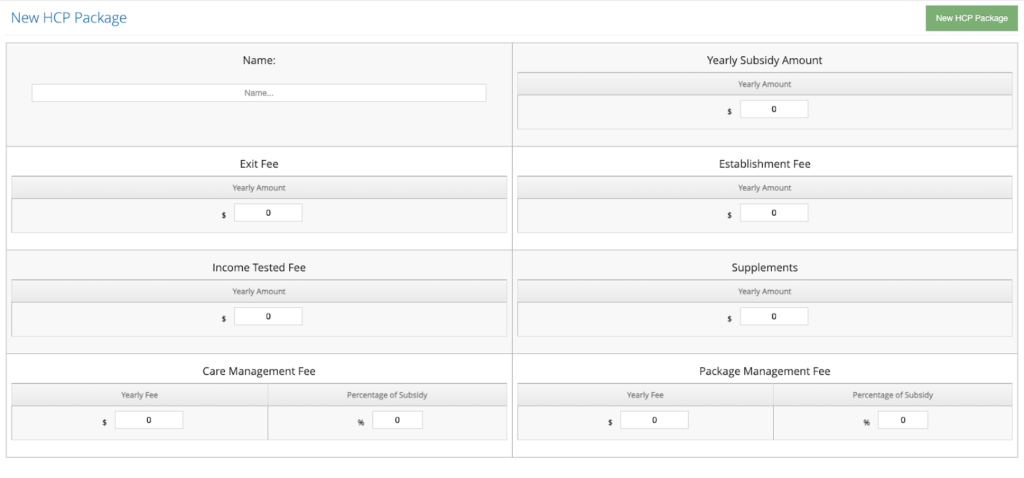
To create a new HCP Package, click on the green button “New HCP Package” on the top right-hand side.

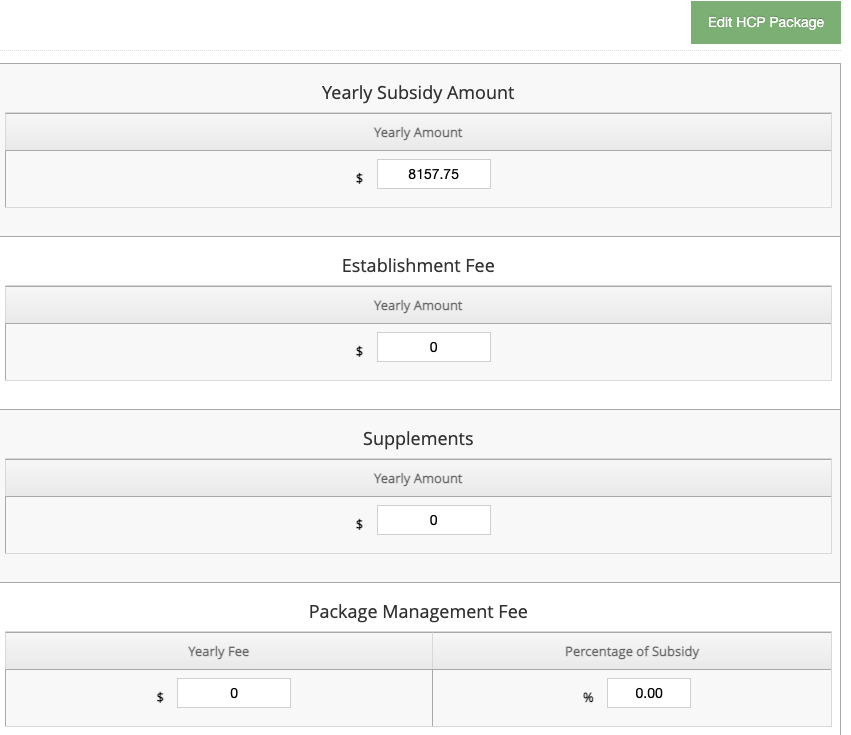
This will open a page where you can fill out all the details of an HCP Level Package, including the yearly subsidy amount, exit fee, establishment fee, incoming tested fee, supplements, care management fee and package management fee.
Once the information is in, you can save it by clicking on that same green button on the right that says “New HCP Package”. This will save your new HCP Package and add it to the HCP Levels page.
To view and edit existing HCP Levels, click on the blue ‘i’ icon on the left side. This will open a similar page to the one for creating new packages. You can edit any of the information and then save changes by clicking on “Edit HCP Package” on the top right side.